

Passwordless login in Flutter via email OTP with Supabase Auth

Introduction
If your mobile or web app requires user management, you're going to need a way for your users to sign up. By now, developers do not try to reinvent the wheel and write their own auth solutions, and can either use self-hosted or managed auth solutions (and preferably open-source!).
Traditionally, you sign up for an app using your username or email, and a password. While still widely used, password-less login is becoming increasingly popular, allowing users to sign up just by providing an email or a phone. With password-less login, users receive a one-time password (OTP) or a "magic link" that is used to sign them in.
In this tutorial, we will go over how you can easily set up password-less login in a Flutter app with Supabase Auth via one-time password through email. We will also discuss the benefits of the password-less approach and potential drawbacks.
Why go password-less?
Password-less login can be beneficial for two main reasons. Firstly, security. If you don't have to store passwords, you don't have to worry about passwords getting leaked, or hackers attempting to guess a user's password (either by a brute force approach or social engineering).
Secondly, and perhaps more importantly depending on how you see it, is user convenience. Not requiring a separate sign-up flow for your users, and simply allowing them to sign up (and in) to your app by tapping on a link sent to their email or filling in a code emailed or texted to them can reduce friction when getting new users. While you could argue that signing in with a password is quicker, especially when using a password manager, the initial sign-up process can be time-consuming, and could cause potential users to skip signing up and look for another app.
Why not?
Despite these benefits, there are potential drawbacks and considerations to keep in mind.
Recovering access to an account can be challenging if a user has lost access to their email. With passwords, you could sign in to your account and change your email. Instead, users would have to contact the app developers or go through customer support to regain access, and even then, you will need a way to verify that the user is who they say they are. However, you could still mitigate this by requiring both an email and a phone number (though this might again introduce some additional friction in the sign-up flow). You could also prompt users to add a phone number (or email if they signed up with a phone number) later, or even a backup password, as a way to better secure their account. This way, you'd still get the benefits of a quick user sign-up.
Another important point to consider is dependency on external services. To receive a one-time password or magic link, you will likely rely on an external service to send an email or SMS. This could mean additional costs, but also an additional point of failure; if the email service you use is down, for example, your users won't be able to log in at all. This also becomes a bit easier to deal with if you support logging in with passwords in addition to password-less.
Supabase Auth
One way to implement password-less login in Flutter apps is with Supabase Auth. Supabase is an open-source alternative to Firebase, providing services such as a Postgres database, instant APIs, edge functions and storage, in addition to authentication.
I had previously written about using Supabase with Flutter, introducing its database offering, as well as password-based auth. Supabase has gone a long way since then, and so has its integration with Flutter and the Dart/Flutter SDK.
You can use Supabase Auth in your Flutter projects on its own, without having to use any additional Supabase product.
Password-less login
Let's get started on implementing password-less login in a new Flutter app. To start, let's create a new Flutter project.
flutter create passwordless --empty
cd passwordless
This creates a new Flutter project called passwordless, in the passwordless directory. We use the --empty flag to only start with the bare minimum, otherwise we'd get a sample counter app with a lot of comments describing what everything does.
Setting up Supabase Auth
Getting started with Supabase is quick and easy using the Supabase CLI.
supabase init
supabase start
The init command initializes Supabase in our passwordless directory, and start runs the Supabase services locally.
Next, let's add the Supabase client library to our Flutter app.
flutter pub add supabase_flutter
This updates the dependencies in the project's pubspec.yaml, adding the Supabase Flutter SDK's latest version:
dependencies:
  supabase_flutter: ^2.0.2
Now, we need to initialize Supabase before running the app. When running Supabase locally with supabase start, the API URL and anon key were logged in the terminal. We need these when initializing the Supabase client.
// lib/main.dart
import 'package:flutter/material.dart';
import 'package:passwordless/secrets.dart';
import 'package:supabase_flutter/supabase_flutter.dart';

Future<void> main() async {
  WidgetsFlutterBinding.ensureInitialized();

  await Supabase.initialize(
    url: supabaseUrl,
    anonKey: supabaseAnonKey,
  );
  runApp(const MainApp());
}
We don't want to commit these properties to version control, so we're adding them as constants in a file named secrets.dart which is included in the .gitignore file.
// secrets.dart
const supabaseUrl = 'http://127.0.0.1:54321';
const supabaseAnonKey = 'eyJhbGciOiJR5cCI6IkpXVCJ9.eyQwgnWNReilDMblYTn_I0';
In the repository, the secrets_sample.dart file has the same structure with empty strings. If you're cloning this repo, simply copy this file to a new filed named secrets.dart and fill in the properties with either the local URL and key or your live Supabase project.
One-time-password via email
Now that everything is set up, we can start implementing the OTP via email flow. The flow is simple:
User taps on button sign in via OTP
User is shown a new screen in which they need to submit the OTP
User inputs the OTP received via email to sign in
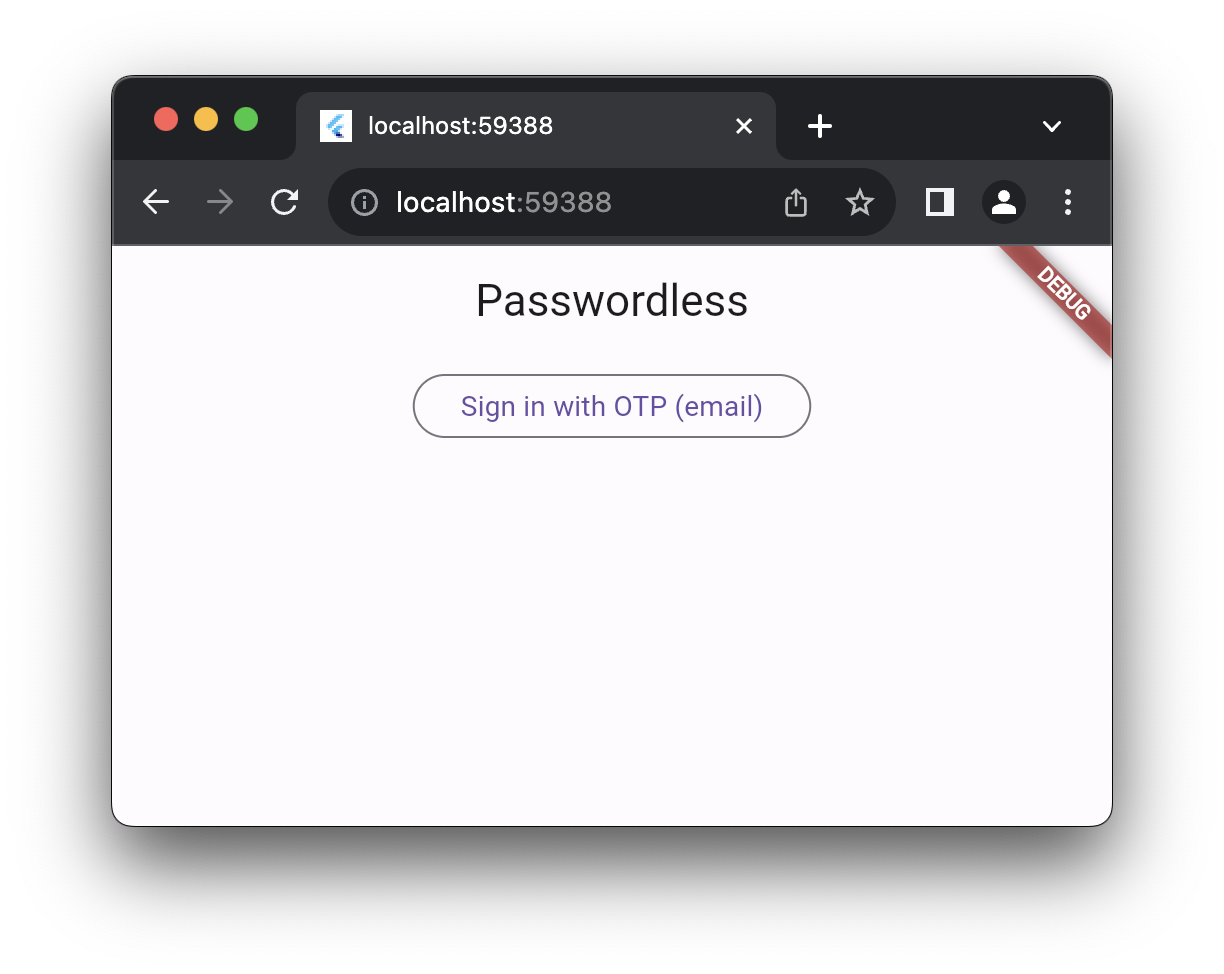
First, we start with a main screen with just the e-mail OTP sign in option:
// main.dart
class MainApp extends StatelessWidget {
  const MainApp({super.key});

  @override
  Widget build(BuildContext context) {
    return MaterialApp(
      home: Scaffold(
        appBar: AppBar(
          title: const Text('Passwordless'),
        ),
        body: Center(
          child: Column(
            children: [
              SignInOptionButton(
                label: 'Sign in with OTP (email)',
                screen: EmailOtpScreen(),
              )
            ],
          ),
        ),
      ),
    );
  }
}

class SignInOptionButton extends StatelessWidget {
  const SignInOptionButton({
    super.key,
    required this.label,
    required this.screen,
  });

  final String label;
  final Widget screen;

  @override
  Widget build(BuildContext context) {
    return Padding(
      padding: const EdgeInsets.all(8.0),
      child: OutlinedButton(
        onPressed: () {
          final route = MaterialPageRoute(builder: (context) => screen);
          Navigator.push(context, route);
        },
        child: Text(label),
      ),
    );
  }
}
Next, the user needs to input their email address to receive their one-time password.
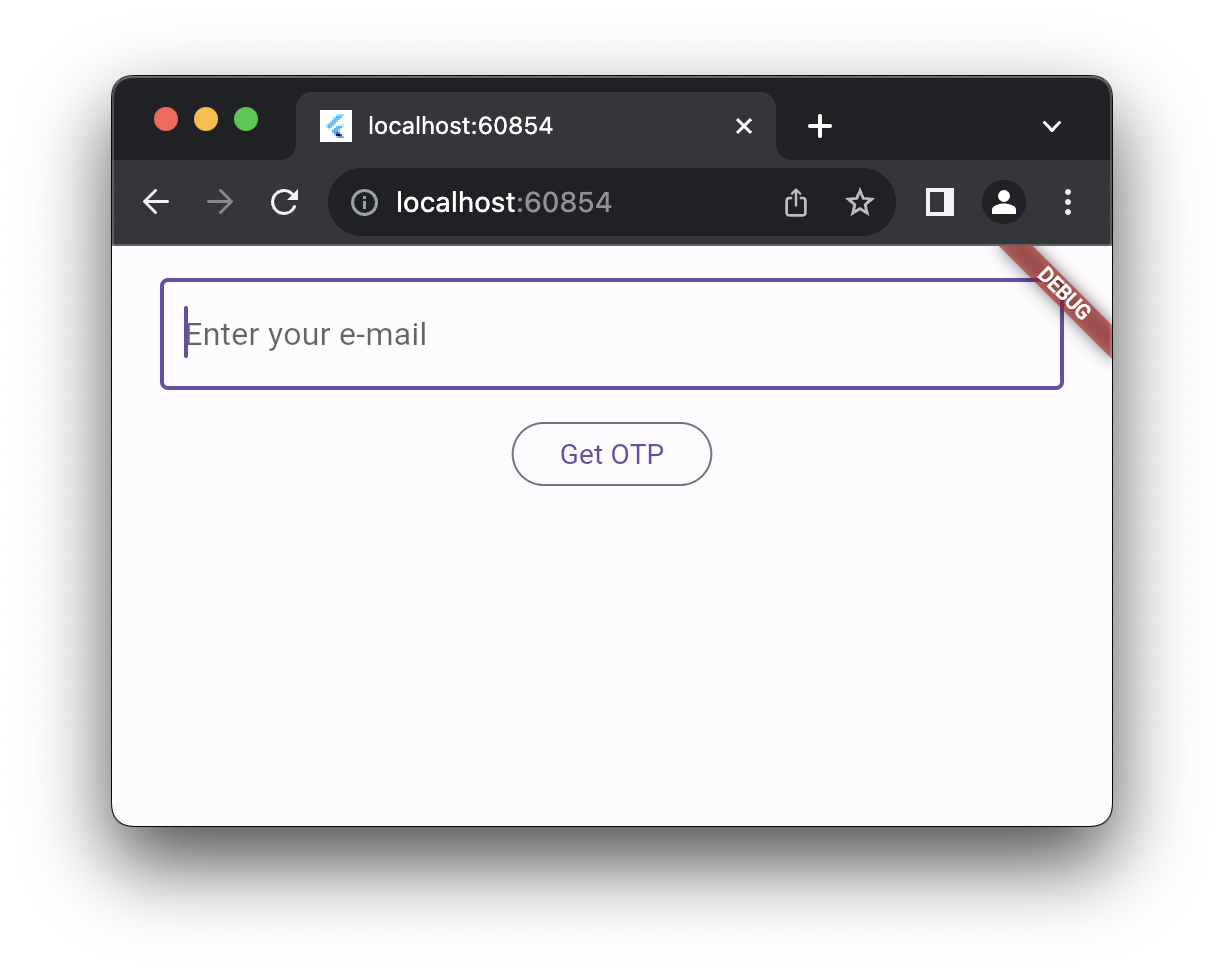
Above is the EmailOtpScreen widget in action, below the code:
// screens/email_otp_screen.dart
class EmailOtpScreen extends StatelessWidget {
  EmailOtpScreen({super.key});

  final _emailController = TextEditingController();

  @override
  Widget build(BuildContext context) {
    return Scaffold(
      body: Center(
        child: Column(
          children: [
            Padding(
              padding:
                  const EdgeInsets.symmetric(vertical: 16.0, horizontal: 24.0),
              child: TextField(
                controller: _emailController,
                keyboardType: TextInputType.emailAddress,
                decoration: const InputDecoration(
                  border: OutlineInputBorder(),
                  hintText: 'Enter your e-mail',
                ),
              ),
            ),
            OutlinedButton(
              onPressed: () {
                final email = _emailController.text;
                final supabase = Supabase.instance.client;
                supabase.auth.signInWithOtp(email: email);
                final route = MaterialPageRoute(
                  builder: (context) => VerifyOtpScreen(email: email),
                );
                Navigator.pushReplacement(context, route);
              },
              child: const Text('Get OTP'),
            )
          ],
        ),
      ),
    );
  }
}
The two lines below are all we need to send an email with the OTP to the email supplied through the text field.
final supabase = Supabase.instance.client;
supabase.auth.signInWithOtp(email: email);
If you're following along and you've just tried to sign in, you'll be expecting to receive an email by now... But we're running Supabase locally, so no emails are being sent. We could set up a live Supabase project and switch the secrets to point there to receive emails, but for now we're going to keep working locally. When running Supabase locally, we can still test the email flows thanks to Inbucket, a tool which lets you receive outgoing emails through a web interface. When running supabase start, along with the Supabase URL and anon key we used to initialize the client, the Inbucket URL was also logged. If we follow that URL, we'll see the contents of the email that would have been sent if we were working with a live Supabase project.
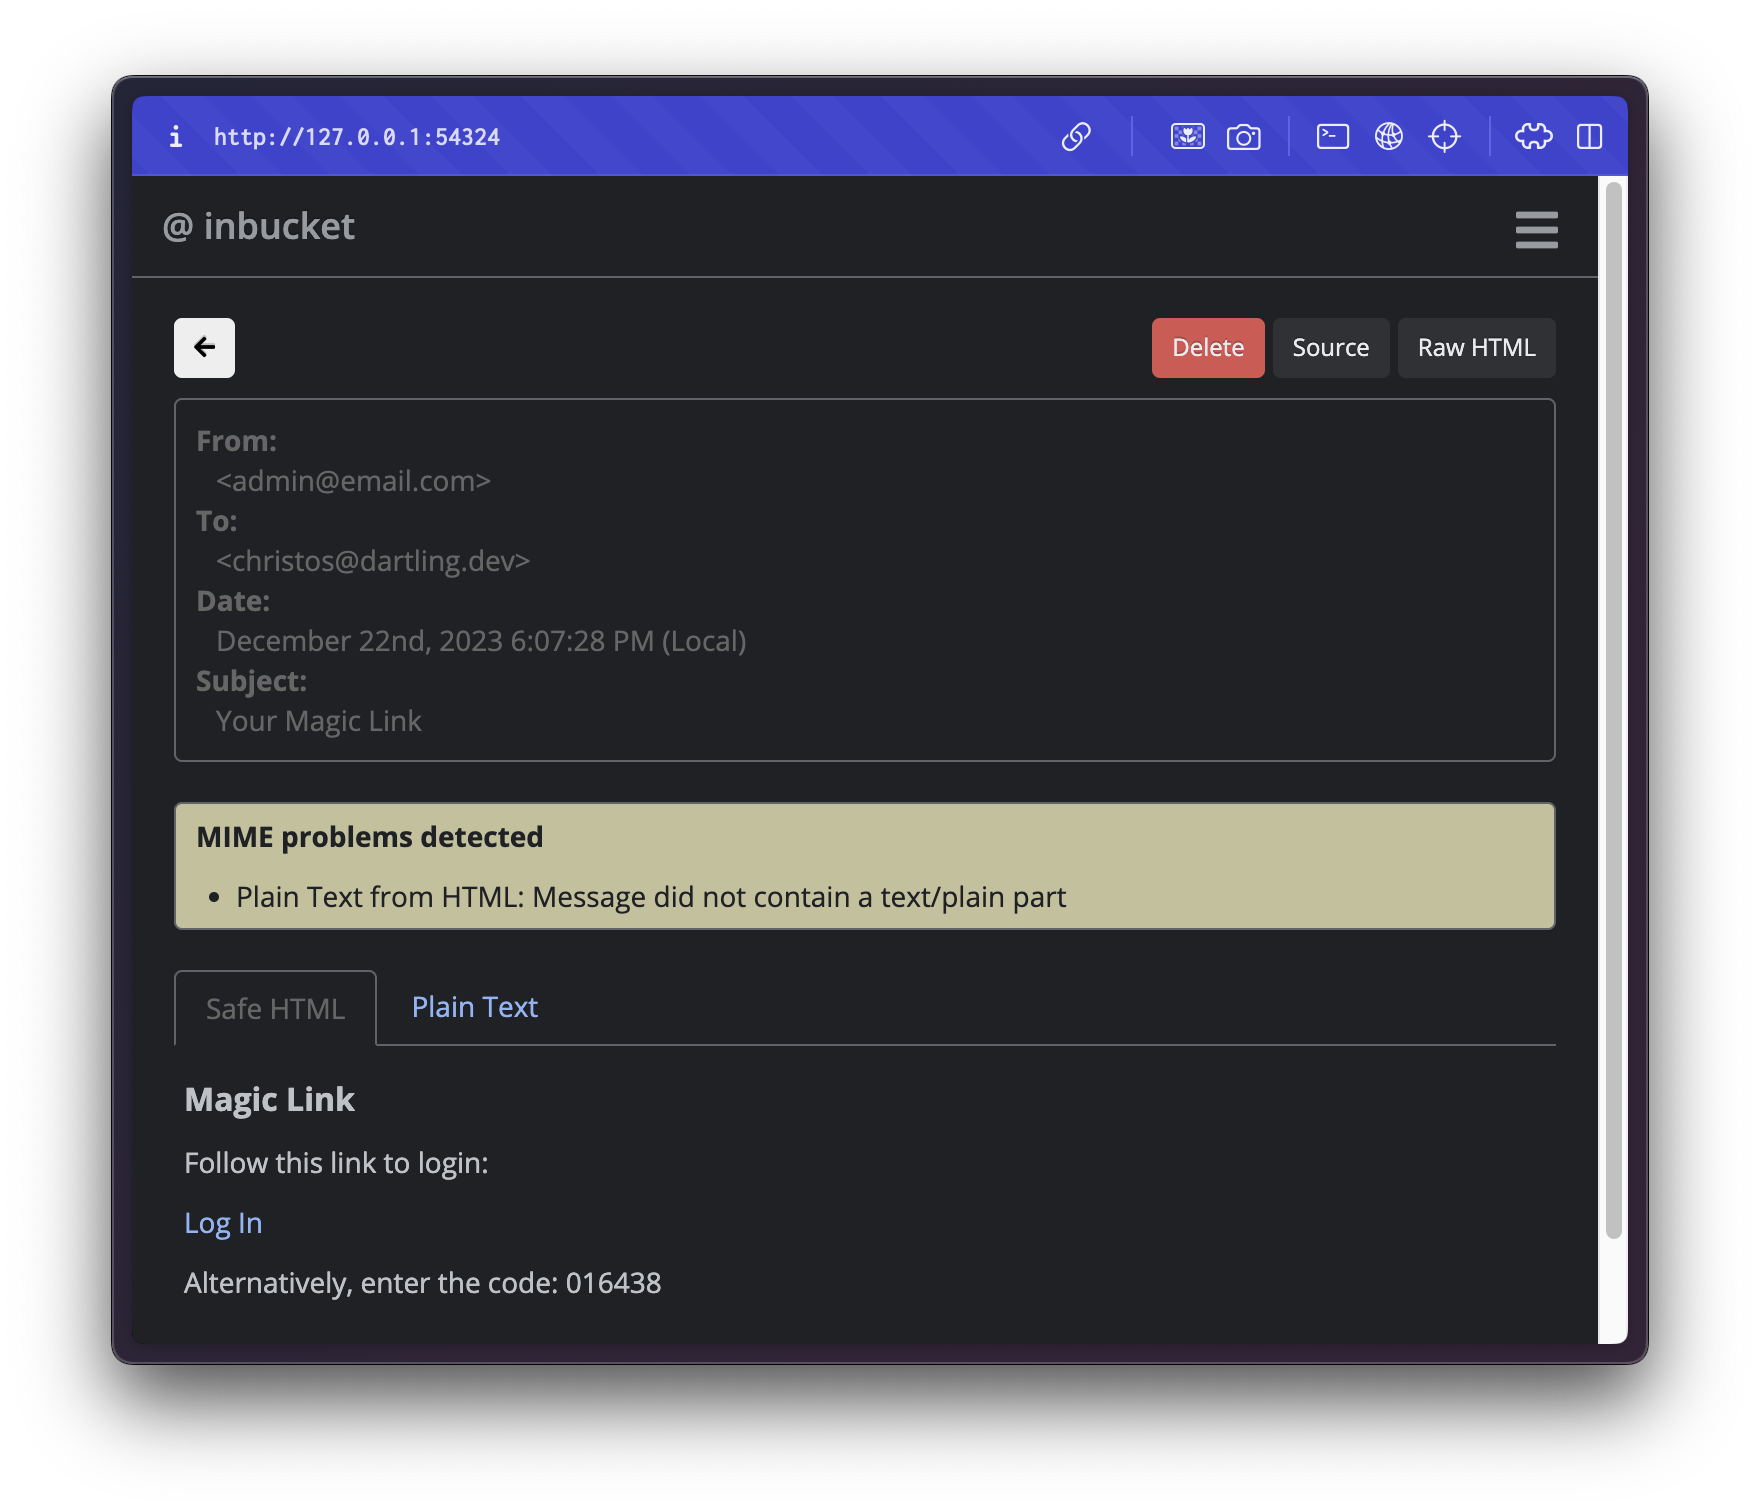
You'll notice the email mentions "magic link" and includes both a log in link (the magic link), as well as the code. This is due to the email template, which we can customize. Currently, it doesn't look like we can customize the template when running Supabase locally, but we can do so in a deployed Supabase project. If your app does not support magic links, you can remove the magic link from the email template and send the OTP only.
After tapping on "Get OTP", we redirected to a new screen to verify the OTP. Let's put in the code from the email:
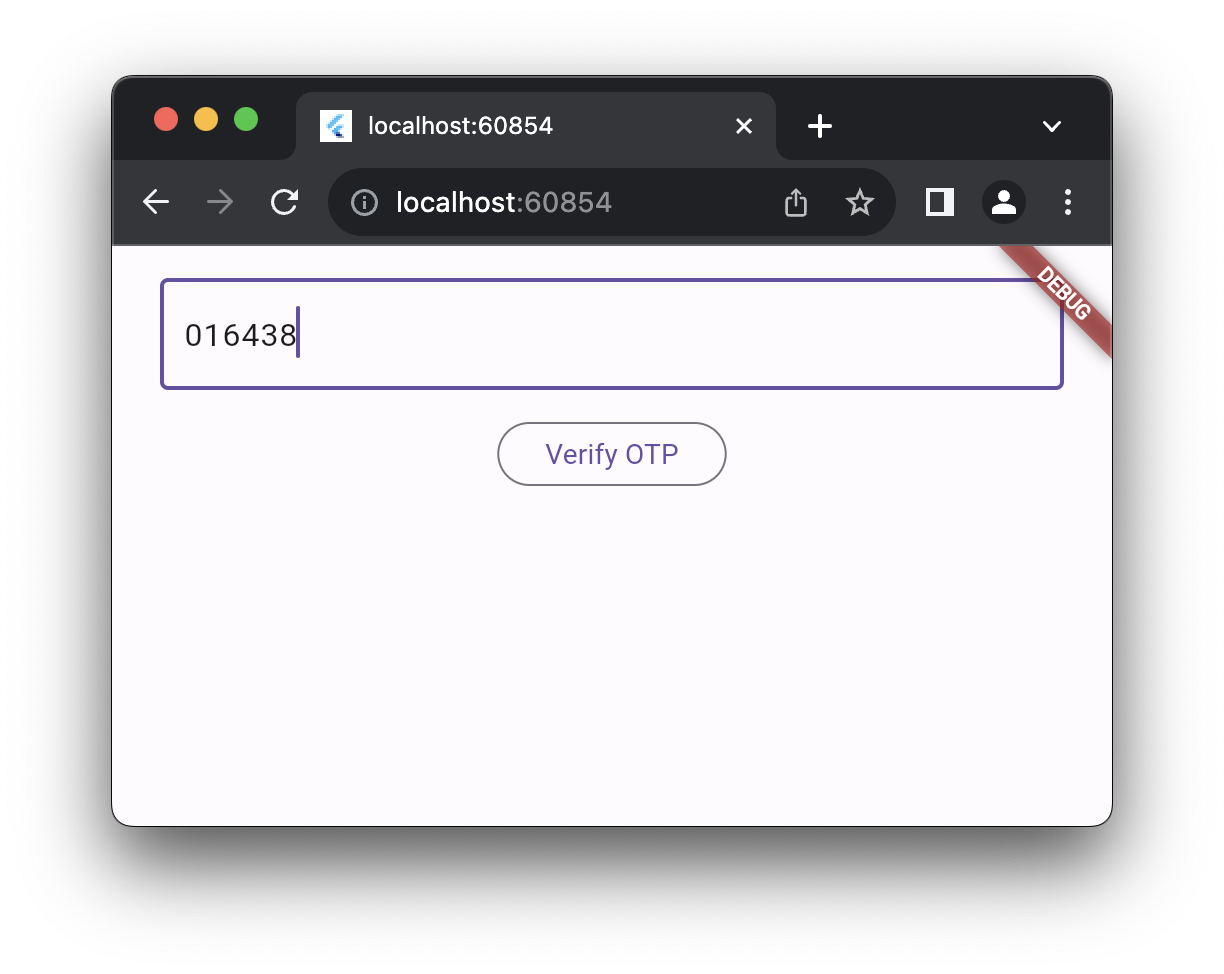
// screens/verify_otp_screen.dart
class VerifyOtpScreen extends StatelessWidget {
  VerifyOtpScreen({super.key, required this.email});

  final String email;
  final _otpController = TextEditingController();

  @override
  Widget build(BuildContext context) {
    return Scaffold(
      body: Center(
        child: Column(
          children: [
            Padding(
              padding:
                  const EdgeInsets.symmetric(vertical: 16.0, horizontal: 24.0),
              child: TextField(
                controller: _otpController,
                keyboardType: TextInputType.number,
                decoration: const InputDecoration(
                  border: OutlineInputBorder(),
                  hintText: 'Enter the 6-digit code',
                ),
              ),
            ),
            OutlinedButton(
              onPressed: () async {
                final navigator = Navigator.of(context);
                final scaffoldMessenger = ScaffoldMessenger.of(context);
                try {
                  final response =
                      await Supabase.instance.client.auth.verifyOTP(
                    email: email,
                    token: _otpController.text,
                    type: OtpType.email,
                  );
                  final route = MaterialPageRoute(
                      builder: (_) => SuccessScreen(user: response.user!));
                  navigator.pushReplacement(route);
                } catch (err) {
                  scaffoldMessenger.showSnackBar(
                      const SnackBar(content: Text('Something went wrong')));
                }
              },
              child: const Text('Verify OTP'),
            )
          ],
        ),
      ),
    );
  }
}
To verify the OTP, we need to pass the email passed from the previous screen, as well as the token/code. We also need to specify the OTP type, which for this case is email.
Let's go over the Supabase code to see what's happening:
// keep references to both the navigator and scaffold messenger
// as the verifyOTP method is async and we should not use the
// context across async gaps
final navigator = Navigator.of(context);
final scaffoldMessenger = ScaffoldMessenger.of(context);
try {
  // pass the email from previous screen, OTP from the text field
  final response =
      await Supabase.instance.client.auth.verifyOTP(
    email: email,
    token: _otpController.text,
    type: OtpType.email,
  );
  // if a response is received with no error thrown, we assume
  // the response contains a valid user, so we show a success screen
  final route = MaterialPageRoute(
      builder: (_) => SuccessScreen(user: response.user!));
  navigator.pushReplacement(route);
} catch (err) {
  // if an error is thrown, for example if the OTP is wrong, we show
  // a generic error (but ideally we explain what actually went wrong)
  scaffoldMessenger.showSnackBar(
      const SnackBar(content: Text('Something went wrong')));
}
If the OTP is correct, we should now be redirected to the success screen.
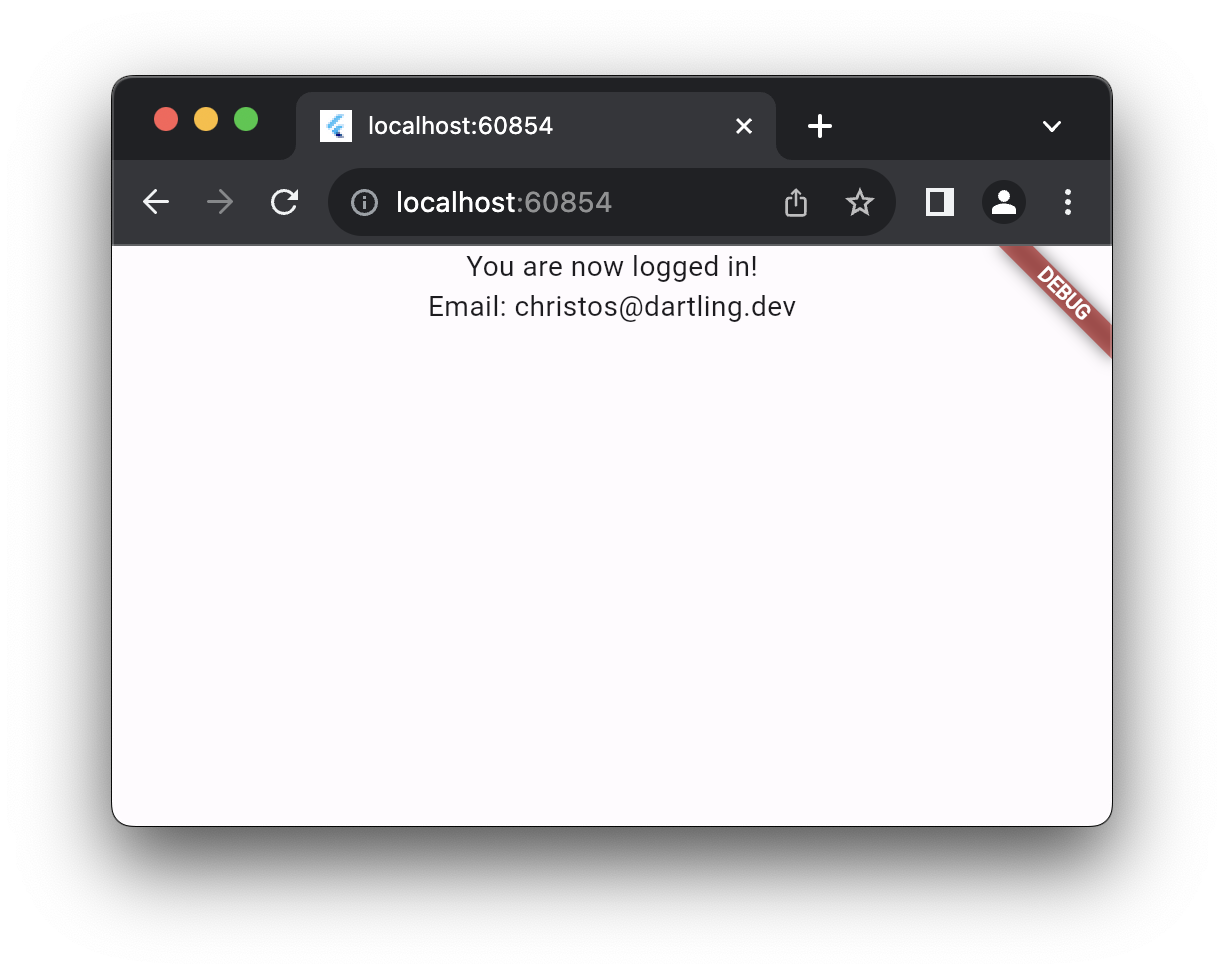
// screens/success_screen.dart
class SuccessScreen extends StatelessWidget {
  const SuccessScreen({super.key, required this.user});

  final User user;

  @override
  Widget build(BuildContext context) {
    return Scaffold(
      body: Center(
        child: Column(
          children: [
            const Text('You are now logged in!'),
            Text('Email: ${user.email ?? '--'}'),
          ],
        ),
      ),
    );
  }
}
We've successfully signed in to our app! Since this is the first sign-in, we are also automatically signed up.
For better security, as discussed previously, we could require users to sign up with an email and password, and only allow logins via OTP later. In this case, we would need to set the shouldCreateUser flag to false for the login via OTP.
Supabase.instance.client.auth.signInWithOtp(
  email: email,
  shouldCreateUser: false,
);
Updating the email template
Previously, we saw that the email we received (through Inbucket) contained a magic link as well. We haven't added support for magic links in this project, so we should update the email template to stop sending them.
To do this, we first had to set up a live Supabase project, and change the settings to point to that instead of the local Supabase services. From the project dashboard, we can edit the email templates from the Auth tab.
This was the template:
<h2>Magic Link</h2>

<p>Follow this link to login:</p>
<p><a href="{{ .ConfirmationURL }}">Log In</a></p>

<p>Alternatively, enter the code: {{ .Token }}</p>
And this is how we change it to look to avoid including a magic link:
<h2>Your one-time password</h2>

<p>This is your one-time password to sign in to Passwordless: {{ .Token }}</p>
Wrapping up
In this tutorial, we showed how we can easily support password-less login in Flutter via email OTP with Supabase. You can find the source code here.
Supabase Auth also supports password-less login via one-time password through phone, as well as magic links. We've only focused on the email OTP flow in this tutorial, but we could cover these other two approaches in the future. If you're interested, please let me know in the comments!


